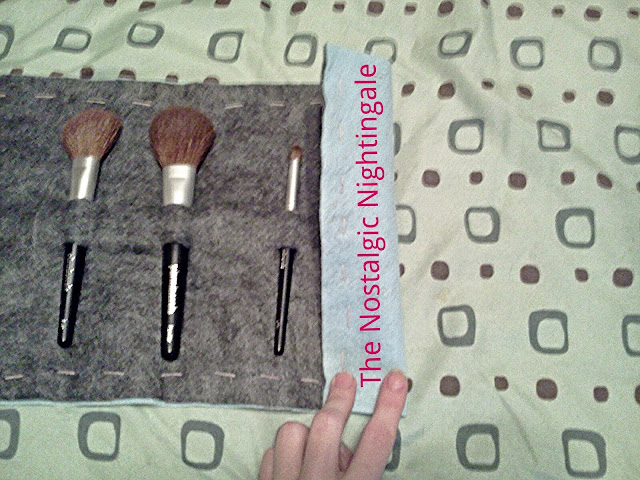
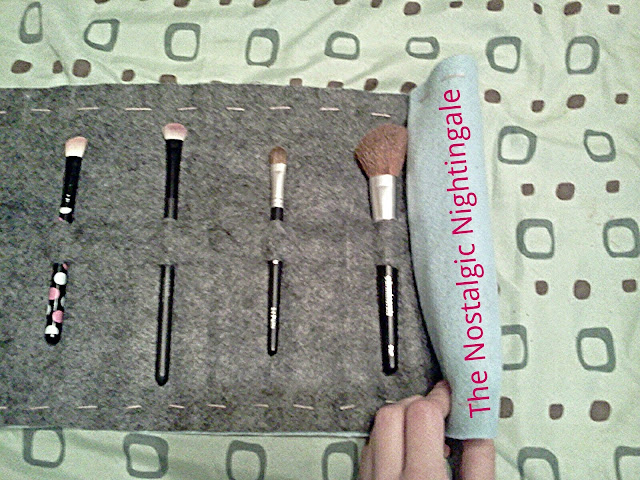
Today I finished up a sort of craft draft. I really wanted a fun way to organize and transport my cosmetic brushes. And after surfing pinterest I stumbled upon a pin of a handmade felt pencil roll. Well the pin didn't lead to a tutorial so I surfed a little bit more and found a bigger photo collage pin of how to make the roll. And that pin didn't lead to anything understandable so below is my how to for creating my cosmetic brush roll!
What I Used:
~ 2 colors of felt
~ needle & thread
~ ribbon
~ exacto knife & scissors
~ templates
~ ruler
~ pencil
What I Did:
1) First I measured my brushes to determine the height of my brush roll.
2) Then I figured I should go ahead and create a template using printer paper. A sheet of paper turned horizontal happened to be the perfect height to protect my brushes but the length wasn't quite right, so I used three pieces of paper to create the length I wanted for my brush roll. My roll ended up being 8.5" x 33".
3) Thirdly I had to do a little math to calculate where the incisions should go to securely hold 12 of my cosmetic brushes. My incisions are 2.5" apart.
4) Next I used the template to cut out two pieces of felt, one in light blue & one in dark grey; and used to exacto knife to make the little slits only on one of the felt sheets (the dark grey).
5) Then I pinned the two felt sheets together and did a quick running stitch to secure them. I may go back over it later with a blanket stitch but it works for now.
6) Before sewing the roll closed I made a small cut in the outside felt (the light blue) to insert the ribbon tie and sewed it in place.
7) And that's pretty much it. I did have to go back and make some of the incisions slightly larger to hold my bigger cosmetic brushes. Also I wish I had measured the ribbon tie before cutting it as I made it too short and it won't wrap around the roll as I had hoped, but other than that I love it!
To use: Insert brushes and starting at the edge without the ribbon, begin to tightly roll it being careful not to damage the brush bristles. Once rolled, wrap the ribbon around the case and tie in a bow. Ta-da! And here are a few more photos of my creation!
How do you organize and transport your cosmetic brushes? Leave a comment below to share with us!


No comments:
Post a Comment